Particle systems and Arduino
What’s more, fun that exploring real-life interaction and bringing them into virtual environments? In this project, i’m using a computer fan that acts as the interaction agent between us and the computer, and the virtual environment built in Unity Game engine. The idea is to have a particle system in a wind zone that can be affected by blowing into the computer fan(makes sense?). Before, we jump in to create the electronics part of the project which requires us to program an Arduino and set-up the computer fan. Let’s set-up the Unity part.
Steps
- Create a SerialPortManager class.
- Create a ArduinoManager class.
- Create a GameManager Class.
The SeriaPortManager need not be a class derives from MonoBehaviour, So you can remove that. The ArduinoManager class uses the SerialManager class to establish a connection between the virtual environment and Arduino. ArduinoManager has an event that is triggered when we receive data from Arduino. GameManager subscribes to this event.
For the virtual environment setup, I used a simple Particle system and set the parameters accordingly. I cranked up the emission rate and ticked External forces. The
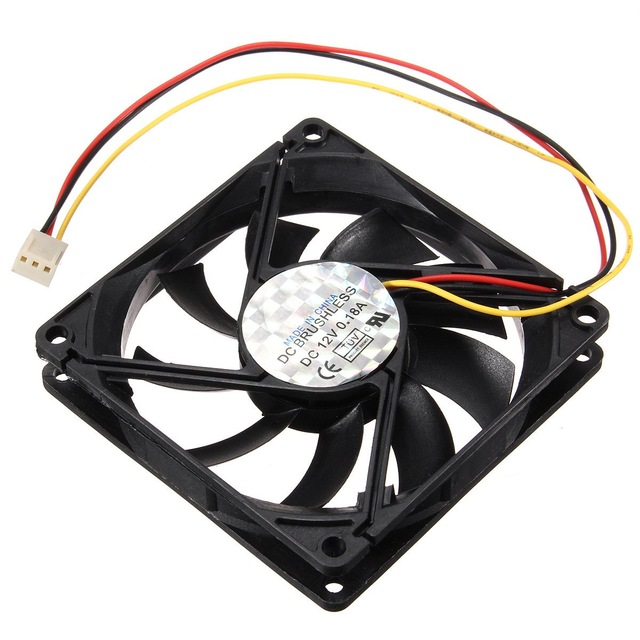
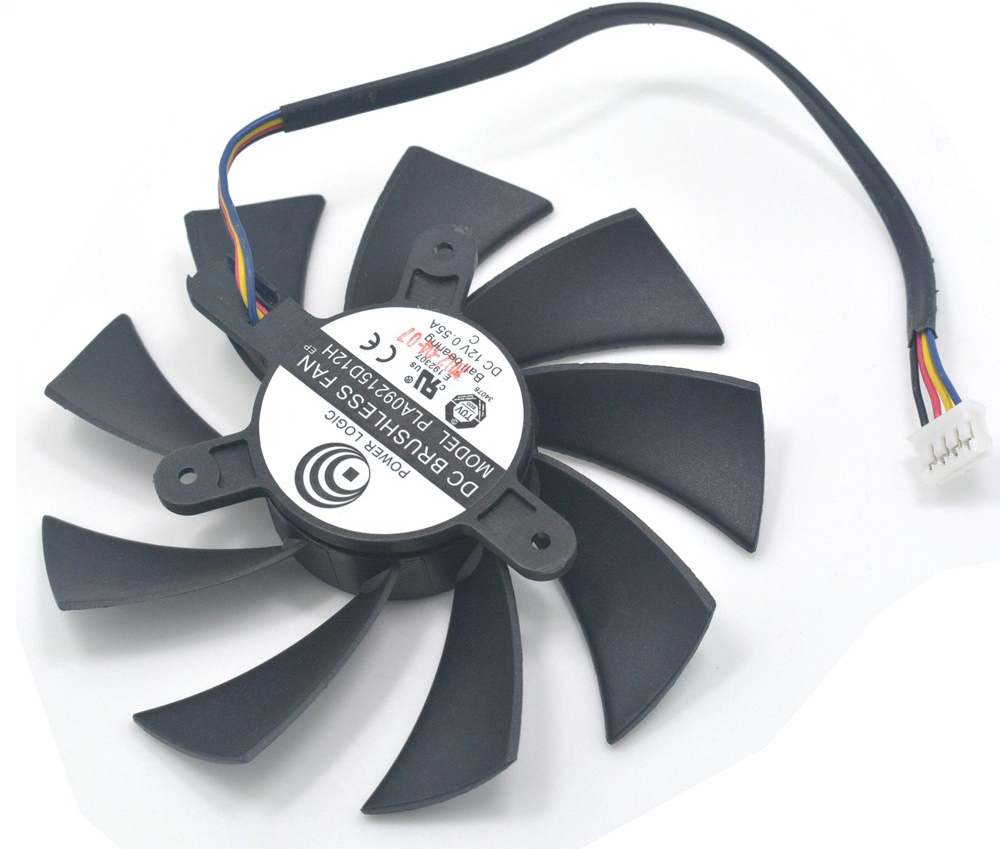
There are different variants of computer fans available in the market. We are going to be using the 3-wire option, 4-wire variant should work without any issues.
The three wire variant has three color-coded wires (obviously)
- Red (Power +5v/+12v).
- Black (Ground).
- Yellow (analog output/ RPM output).
The red and black are self-explanatory. The yellow wire outputs voltage that can be plugged into an ADC (analog to digital converter to get the current rpm - rotation per minute). In the four-wire variant, you can see a blue wire. The blue wire is for PWM( pulse width modulation) control, to control the speed of the fan which is just an added advantage, but we can also use PWM signals form any micro-controller as the input to the fan to simulate the same effect.
3 wire variant
4 wire variant
We are going to use the below components
- Arduino Uno
- Connecting USB cable
- Computer fan
- A computer
- Unity3d (Game engine)
Let’s get to the code.
Arduino Program
The following code takes the tacho input from the Computer fan. The input from tacho is constantly monitored and the effective wind speed is calculated from this input. The calculated speed is sent to the Computer via the Serial Port.